
Commercial Plumbing Design: Water Supply Pipe Sizing Guide
Oversized pipe wastes money; undersized pipe starves the top floor. This guide works the IPC water-supply fixture-unit method end to end — fixture…
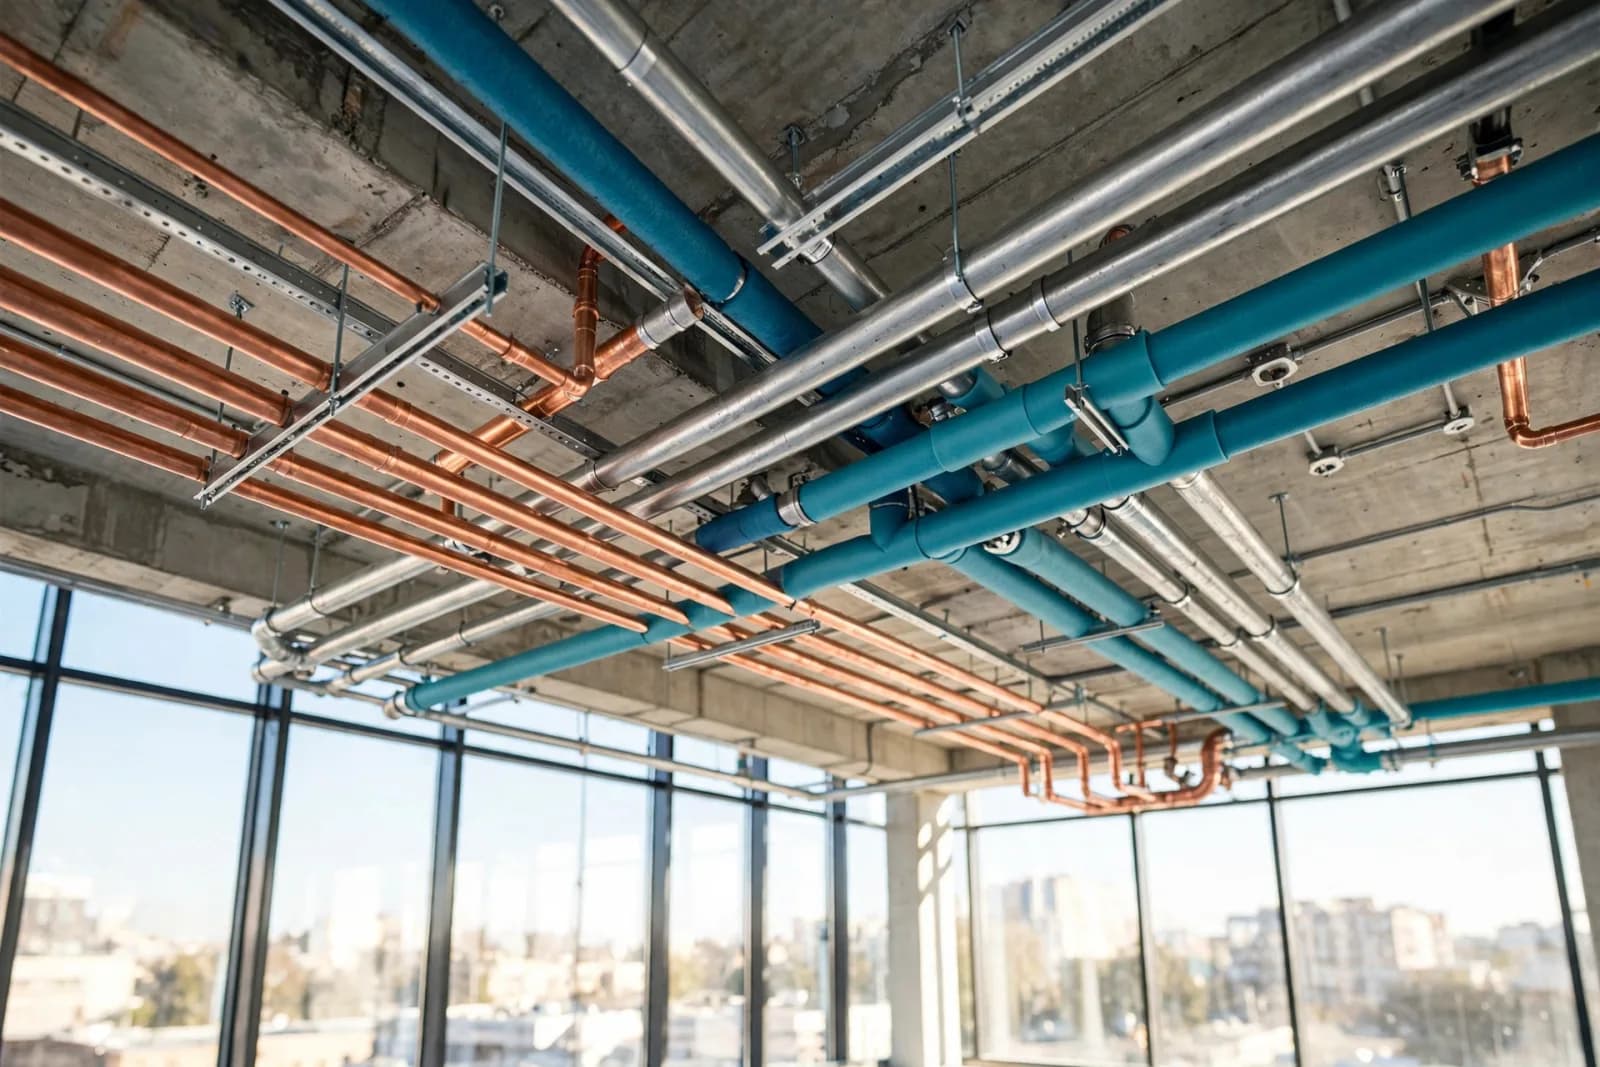
Water pipe sizing looks simple — bigger pipe, more water — until the inspector asks why the top-floor shower trickles when the kitchen is running. Commercial water distribution is sized by probability, not by adding up fixture flows, and the International Plumbing Code gives you the complete method in Appendix E. This guide works it end to end: fixture units, demand conversion, pipe sizing, and the pressure budget that proves the system works at the farthest fixture.
1. Fixture units: probability, not flow
The water-supply fixture unit (WSFU) is the currency of the whole method. Each fixture type gets a load value in IPC Table E103.3(1) — a flush-valve water closet in a public restroom carries far more units than a private lavatory, because it uses more water and is more likely to be used at the same time as its neighbors.
The key insight, from Roy Hunter's research that underlies the tables: fixtures in a building are almost never all running at once, and the probability math is well understood. Ten water closets do not need ten times the pipe of one water closet. The WSFU total goes through Table E103.3(2), which converts fixture units into an estimated demand in gallons per minute along that probability curve. The tables come in flush-tank and flush-valve columns — use the flush-valve column whenever flushometer valves are present, because their instantaneous demand dominates.
Fixture units are not gallons per minute. They are probability — the Hunter curve converts likely simultaneous use into a design flow, and the tables convert that flow into pipe.
2. Worked example: counting a restaurant
Take a small restaurant with public restrooms. The fixture count:
- 6 water closets, flush valve, public: 6 times 10 equals 60 WSFU
- 4 urinals, flush valve: 4 times 5 equals 20 WSFU
- 8 lavatories, public: 8 times 2 equals 16 WSFU
- 2 service sinks: 2 times 3 equals 6 WSFU
Cold-water total: 102 WSFU. Running that through Table E103.3(2) on the flush-valve column gives an estimated demand of about 70 gallons per minute. Note how the curve flattens: 102 fixture units do not produce anything close to 102 times a single fixture's flow. That flattening is the entire economic point of the method — it is what keeps commercial pipe sizes sane.
Do the same count separately for the hot-water side using only the fixtures that take hot water. The hot-water main is sized on its own fixture-unit total, not as a fraction of the cold main.
3. From gallons per minute to pipe size
Table E103.3(3) converts demand into pipe size, indexed by developed length — the actual pipe run plus the equivalent length of every fitting — and by the available pressure range. Say our restaurant's main has 150 feet of developed length, plus fitting equivalents bringing it to roughly 225 feet, with 70 psi available at the service entrance. At about 70 gpm the table lands between 2-inch and 2-1/2-inch copper, and good practice rounds up: a 2-1/2-inch copper main.
Then verify velocity, the check the tables do not do for you. Velocity equals gpm divided by (2.448 times diameter squared): 70 divided by (2.448 times 6.25) equals about 4.6 feet per second in 2-1/2-inch pipe — comfortably under the 8-feet-per-second design limit that guards against water hammer, noise, and erosion. Had we forced 70 gpm through 2-inch pipe, velocity would approach 7 feet per second: legal on paper, loud and destructive in practice.
The same method sizes every branch. A restroom group totaling 30 WSFU converts to roughly 28 gpm; in 1-1/2-inch pipe that runs about 5 feet per second — fine. Work every segment from the farthest fixture back toward the service, carrying cumulative fixture units, and no segment gets starved.

4. Budget the pressure like money
Pipe size means nothing without pressure at the fixture. Build the budget from the service entrance to the highest, farthest outlet:
- Static loss from elevation: 0.433 psi per foot of rise. A 15-foot rise to the second floor costs 6.5 psi.
- Friction loss through the developed length: roughly 5 psi for our 225 equivalent feet at 70 gpm in 2-1/2-inch copper.
- Meter loss: allow about 8 psi for the water meter at design flow.
- Starting pressure: 70 psi.
Residual at the top fixture: 70 minus 6.5 minus 5 minus 8 equals about 50 psi — a healthy margin. If the math lands near the minimum the fixtures need, the fixes are upsizing the main, reducing equivalent length with a better route, or adding a booster pump — decided on paper, not discovered at final inspection. Show this budget on the drawings; it is the first thing a sharp reviewer reconstructs.
5. Meters, services, and pressure-reducing valves
Size the water meter to the design demand — about 70 gpm here points to a 2-inch meter in most utility standards — and confirm the utility's meter loss figure rather than guessing it, since it sits directly in your pressure budget. The building service from the main to the meter follows the same sizing method.
Where street pressure exceeds 80 psi, IPC 604.8 requires a pressure-reducing valve. Show it on the riser diagram with its set pressure, and remember that the PRV's own pressure drop belongs in the budget downstream of it. Thermal expansion control — an expansion tank on the water heater in a closed system with a PRV or check valve — belongs on the same riser.
6. Do not forget the hot-water side
Hot-water piping gets its own fixture-unit count and its own sizing pass; long commercial runs also need hot-water recirculation so the farthest fixture does not wait minutes for hot water, with the recirculation pump and balancing shown on the drawings. And every water heater connection needs its temperature-and-pressure relief discharge piped to an approved termination — drawn, not implied.
Water supply sizing checklist
- Count water-supply fixture units per IPC Table E103.3(1), hot and cold separately
- Convert WSFU to gpm with Table E103.3(2), using the flush-valve column where applicable
- Size each segment from Table E103.3(3) using full developed length including fittings
- Verify velocity stays under 8 feet per second on every segment
- Build the pressure budget: elevation at 0.433 psi per foot, friction, meter, and PRV losses
- Show the meter, PRV, and expansion control on the riser diagram
A water system sized by the fixture-unit method is economical, quiet, and defensible — every number traces back to a code table. Our plumbing design service produces the full package: fixture-unit calculations, pipe sizing, pressure budgets, and permit-ready riser diagrams coordinated with the rest of the MEP set. Request a quote with your floor plans and fixture schedule.
Need similar drawings?
Get permit-ready HVAC and plumbing drawings for your project
Send us your plans and scope — we'll come back with a fixed price and a turnaround date. No obligation.
Keep reading
Related articles
 HVAC & Plumbing
2026 HVAC Design Requirements for Commercial Buildings in the USA
Commercial HVAC design in 2026 sits at the intersection of ASHRAE 90.1-2022, the 2024 IECC, and local amendments. Here is exactly what your permit…
 HVAC & Plumbing
How to Calculate HVAC Cooling Load for a Residential Building
A proper residential cooling load follows ACCA Manual J room by room — envelope, solar gain, internal loads, and infiltration. Here is the complete…
 HVAC & Plumbing
Manual J vs Manual S vs Manual D: Complete Guide
Manual J sizes the load, Manual S selects the equipment, Manual D designs the ducts. Mix up the order or skip one and the system fails — here is how…
Get a fixed drafting quote in under 24 hours
Send us your architectural plans and scope. We'll come back with a fixed price and a turnaround date — no obligation.